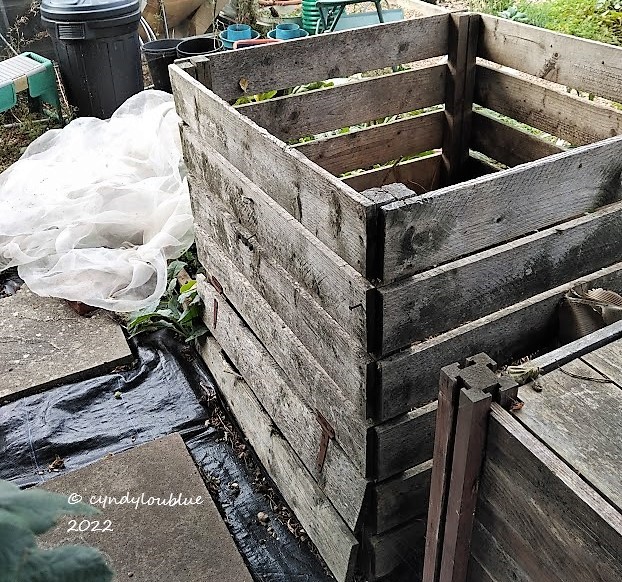
This is a photo of one of my old compost bins. I bought these in about 2003 (?) at a local “buy everything home and garden” store. They have lived in just so many places around the garden over the years and are still hanging together in spite of it all. But, in my experience, bins do better with a heat retaining lid of some sort. They also keep out excess water.
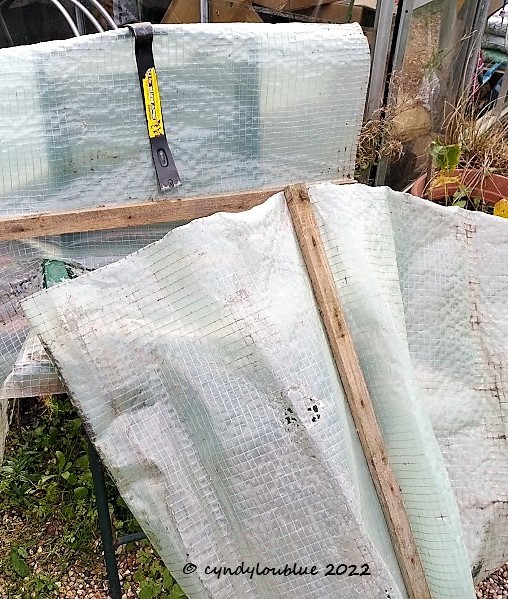
They came with these and, while they functioned almost adequately for many years, I always felt that once they reached the end of their useful life, I could try and replace them with a better version.
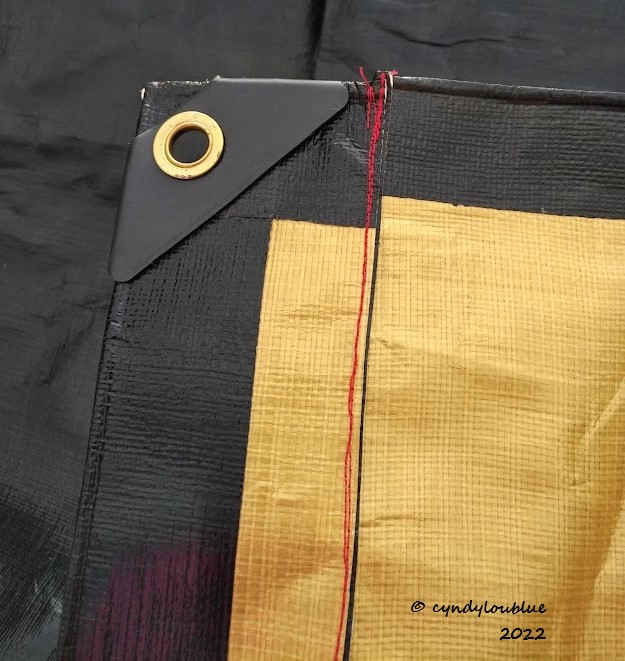
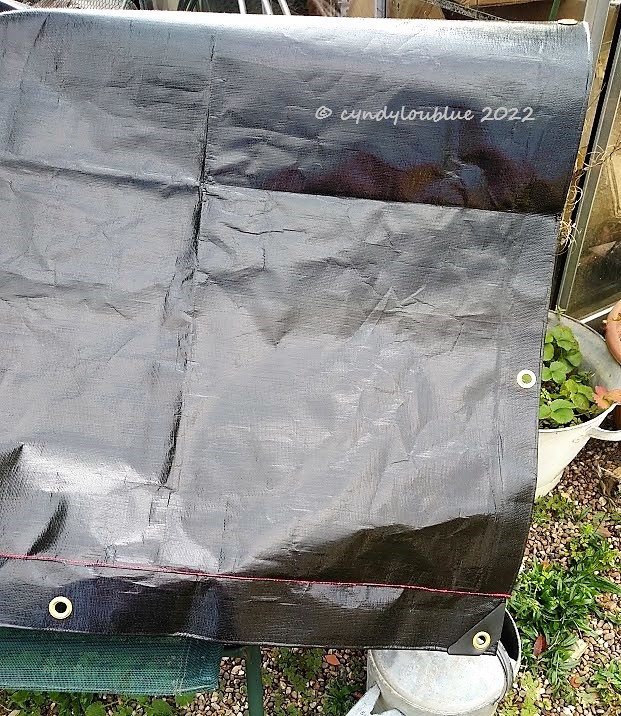
I bought the most robust tarpaulin I could find and liked this one as it had eyelets all round four sides. It was big enough that I figured I could get two covers and two useful, small tarpaulins out of the one piece. And I had design ideas for those eyelets!
My old Singer treadle (see post for 9th March 2022) was pulled into the centre of my sewing room and pressed into service. Having cut the tarp into four pieces, I then trimmed off the eyelet parts from the bits that were not going to be compost bin covers and sewed them along the cut sides of the bin covers so that I had eyelets on three sides. The stitching, while not perfectly straight, was close enough for Jazz!
Can you see where this is going now?
The plan had been to be able to hook the eyelets over nails screws or hooks that would be screwed into the sides of the bin.
And then I found THESE:
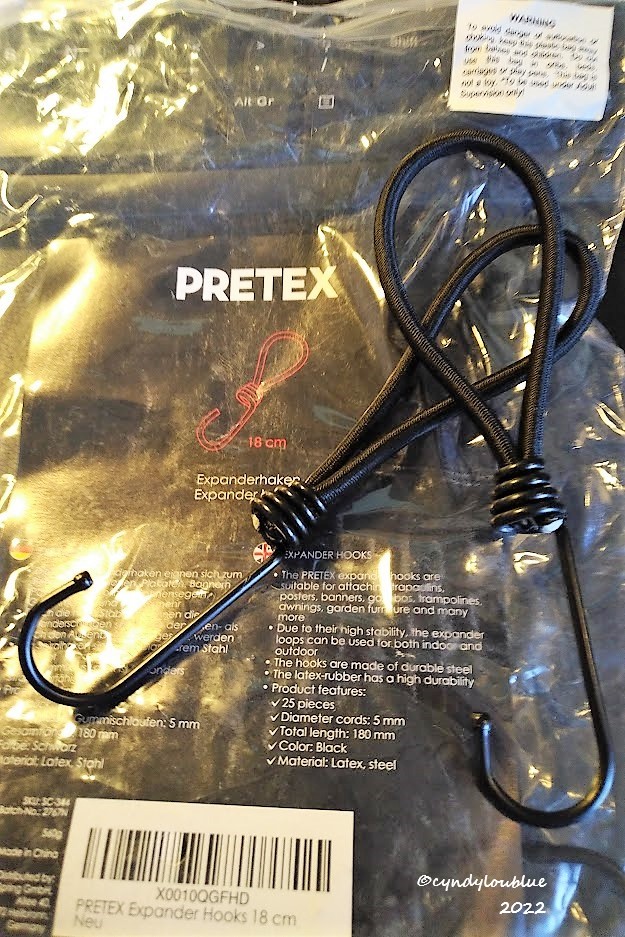
I have always loved the many practical uses of bungee cords, but this next generation type is a game changer for me. I don’t know, perhaps they have been around for a while. Hum…I don’t get out much!
The next part of the plan needed four hands. When my husband was free to help me, it seemed to always be pouring with rain or blowing a gale…or both. At last, the schedules and weather aligned, and we headed out into the garden.
The design was that the un-eyeleted edge of the cover would be wrapped around a length of wood and screwed to the upper edge at the back of the bin. Then, depending on where the hooks had landed (and I could not get that to come out evenly. Look away if that troubles you!), screw-in hooks would be added to the sides of the bin and the cover hooks would have a home.

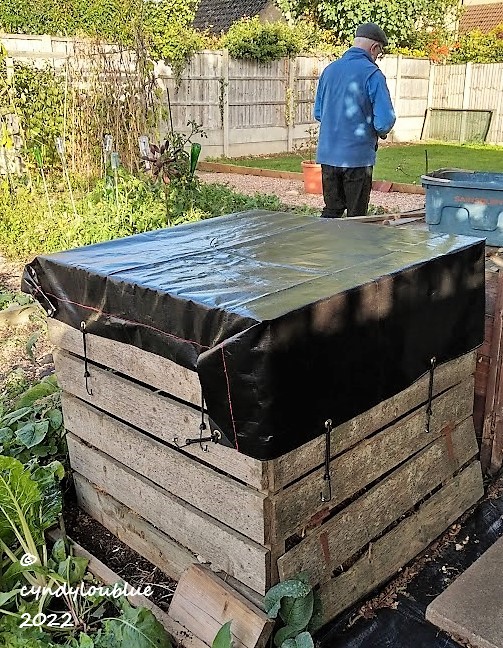
And here is the finished item and this gardening girl is very happy. My thanks to the old geezer in the flat cap! x
Subscribe below to receive my posts as they are published. Buttons provided further down for liking, sharing and/or contacting me. Thanks!

There’s a job for you here… x
Sent from my iPhone
>
LikeLike
I am sure there are many!! LOL!! xx
LikeLike